
Night and torches are now working properly! :D
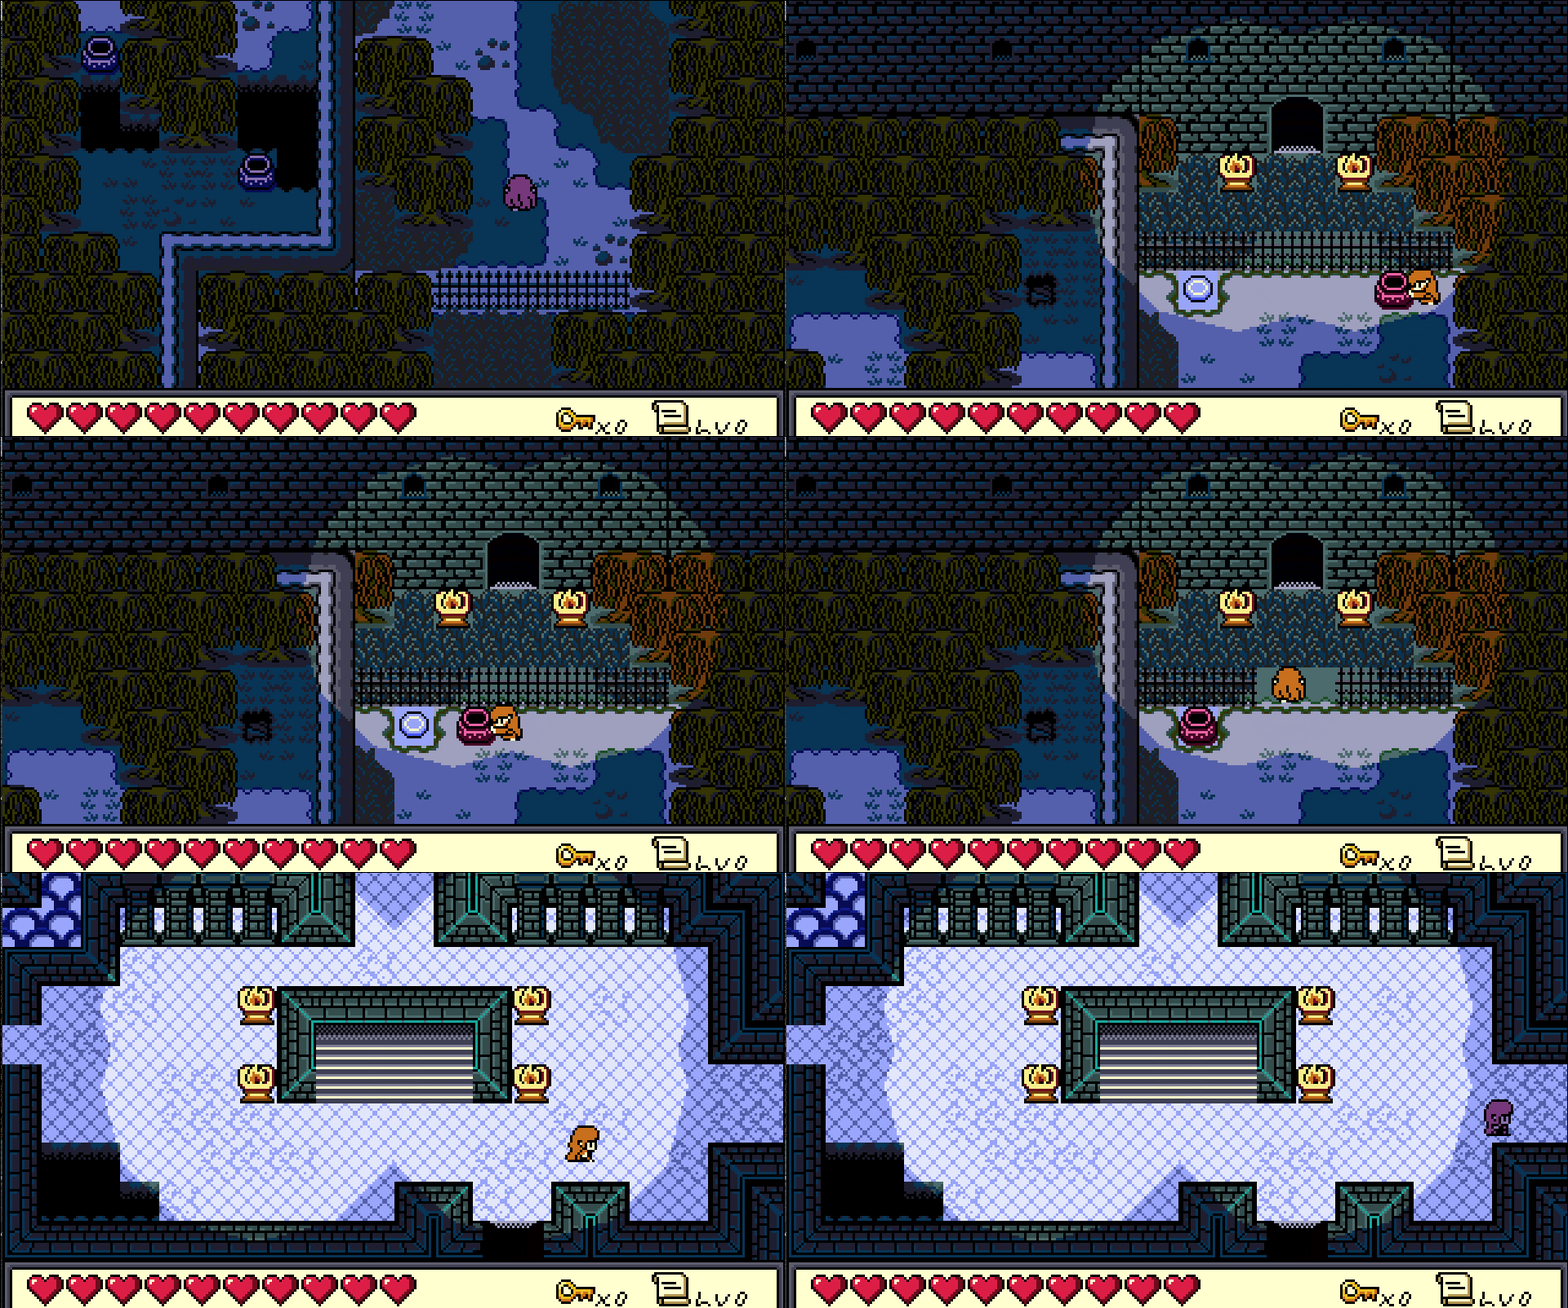
This was quite a journey the past week or so. My original plan was to just have darkness, with torches and a lantern-like item to help you survive at both night and in the caves:
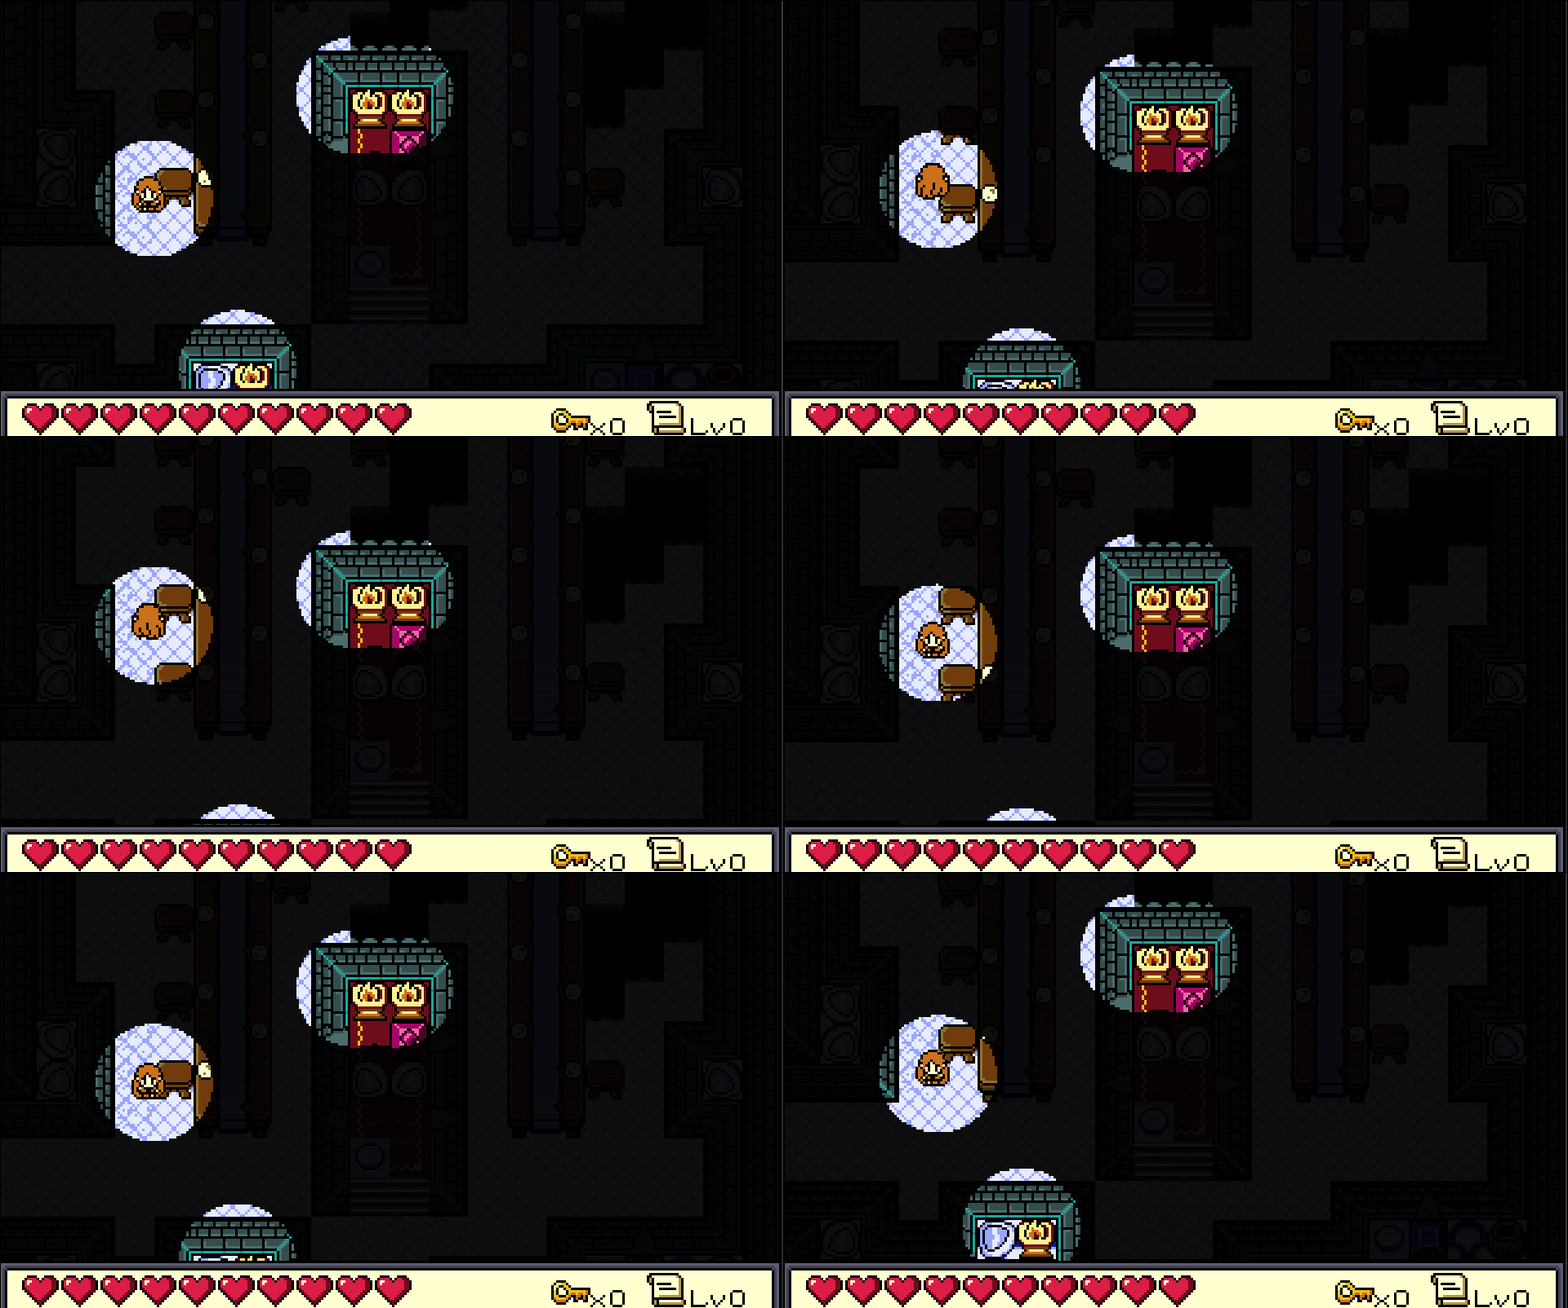
As it turned out, this really wasn’t what I wanted. It was TOO MUCH darkness, especially when large portions of the game would be spent outside at night. I still wanted the idea of scary, dark caves, but it would be way too irritating for everything doing it this way.
And besides, this method was super slow.
First, I tried to simply fix the lights so that they looked better.
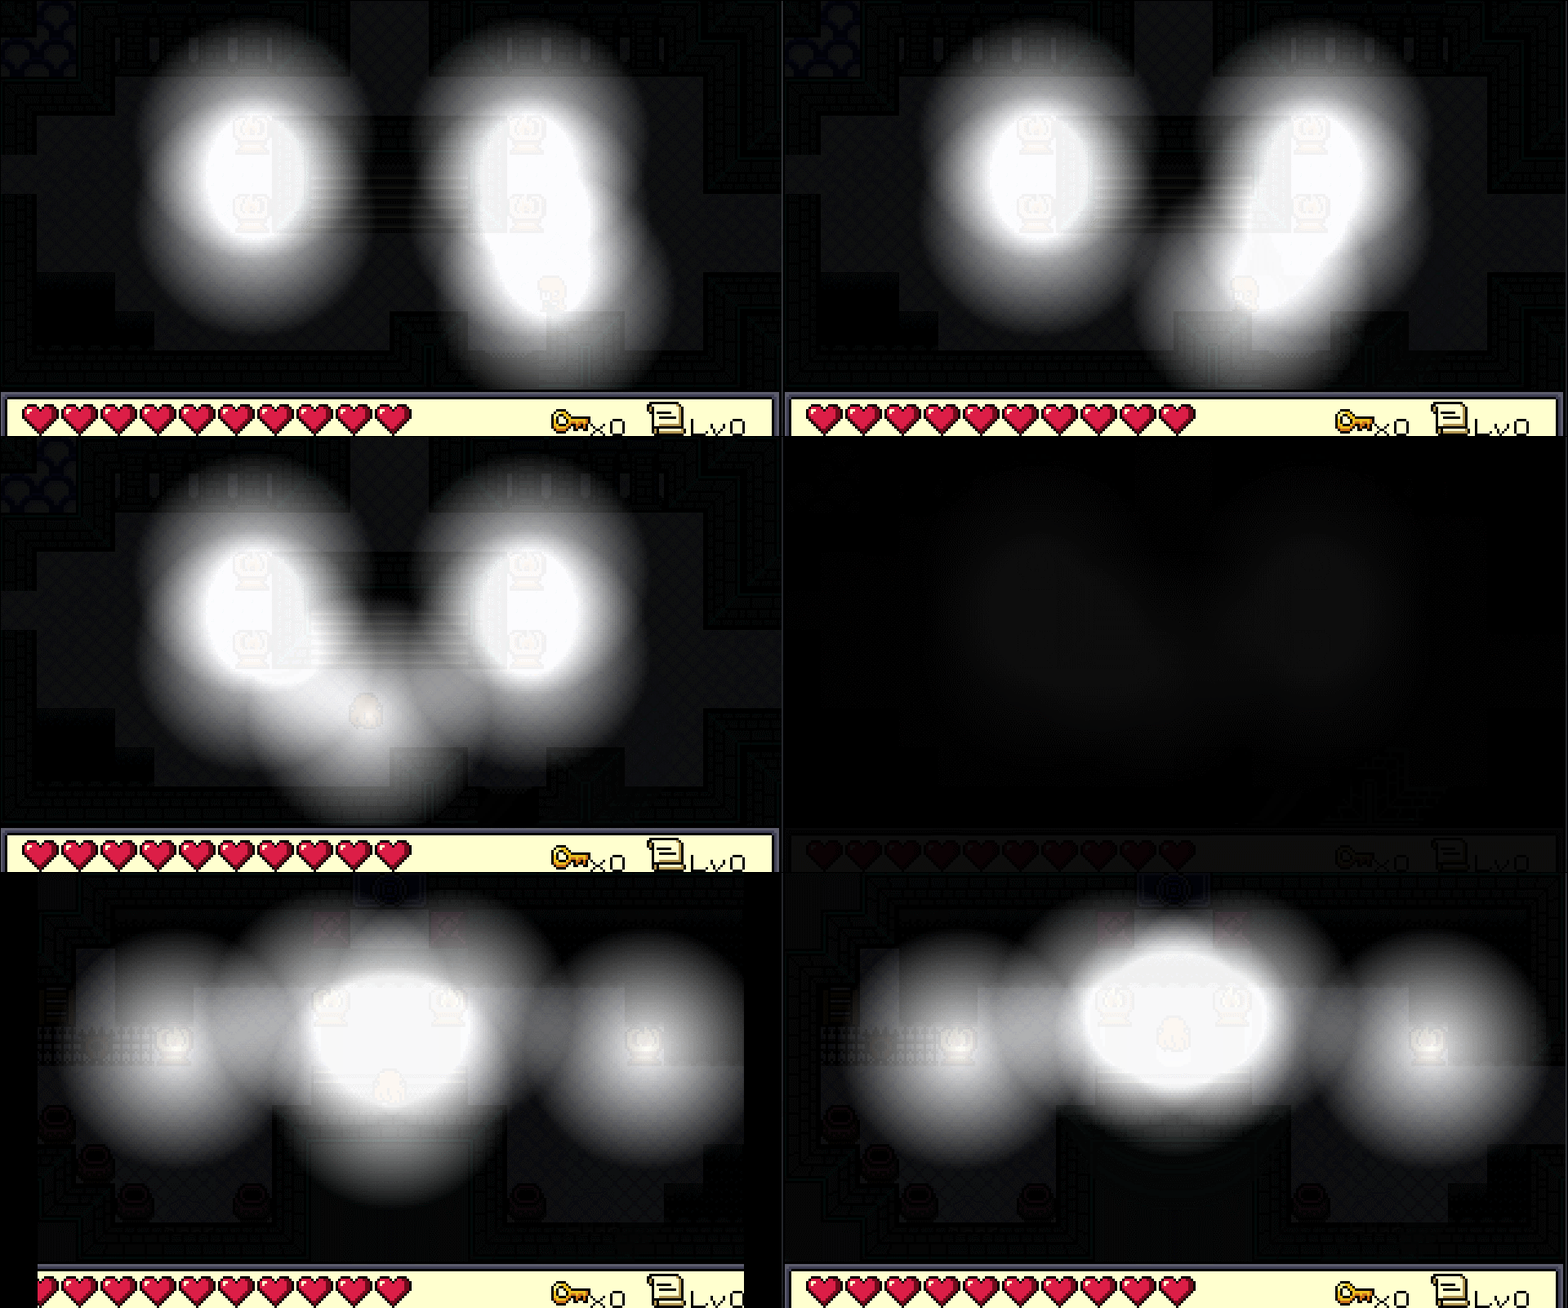
Oops.
After talking it over with a few people on the Discord server, and due to the upcoming item mechanic, I decided to split out the “lighting” into three states:
- Day
- Night
- Dark
Dark would be for caves and unlit dungeons: black, unless you had your light, or if there was a light in the room. Meanwhile, you would be able to see at night with a light, and that’s what I started work on:
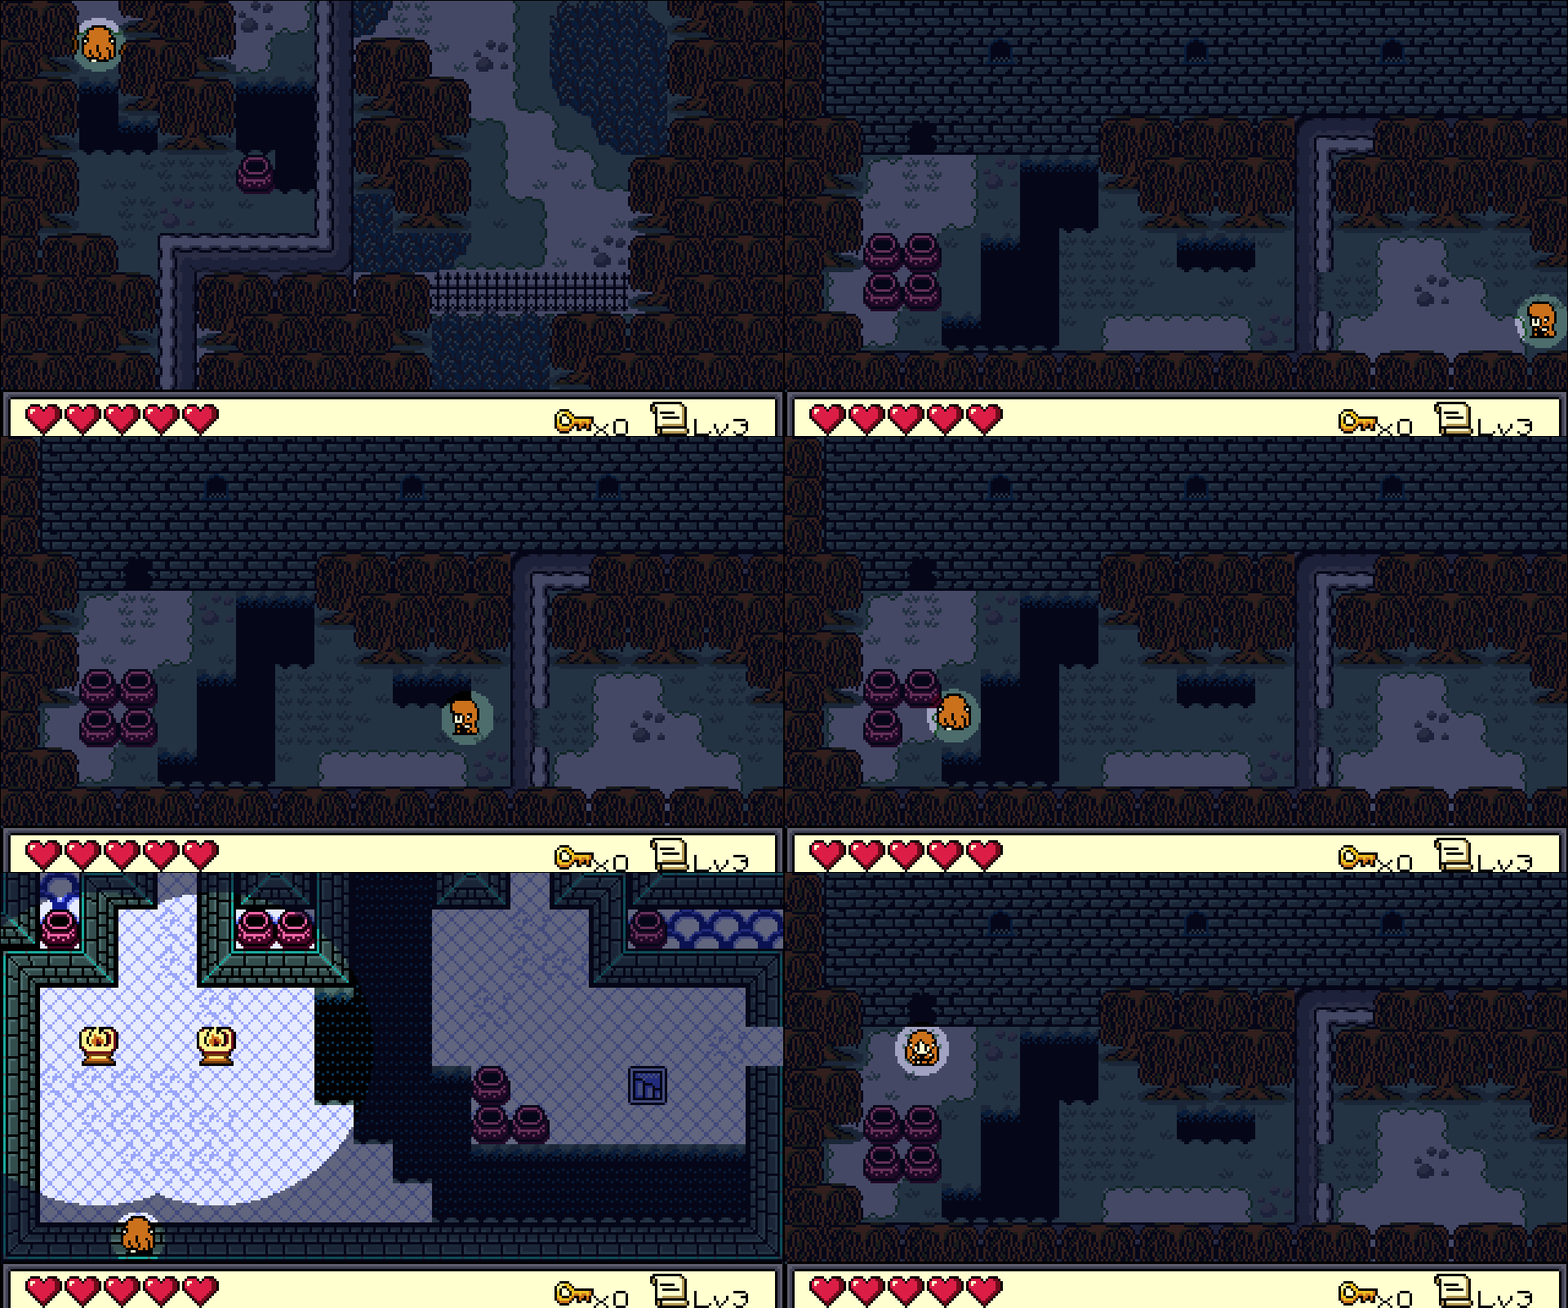
This was actually getting pretty close. It doesn’t adhere to the palette, which isn’t great, and a few people on the Discord server still felt it was too dark. After some conversation, I decided to try a different method, one I’d used a long time ago.
Pixelated Pope’s Retro Palette Swapper.
The reason for this was mainly because I didn’t want to create two sets of images for every single piece of artwork in the game. Inevitably, I would’ve missed some, or updated one sprite and forgotten to update another. It would’ve been a lot of work and code modification. So, a shader seemed in order. I started by doing some mockups of how night would look, using some existing images. I took this opportunity to consolidate my existing palette, remove unused colors, and add a few new ones to support the night palette:
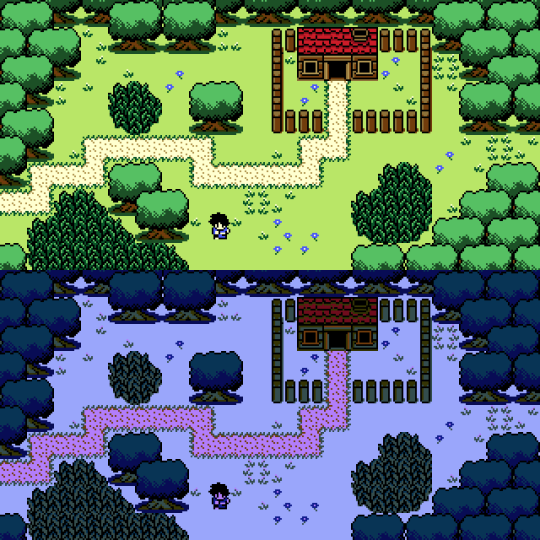
Version 1 was a bit funky and bright. So I tried again:
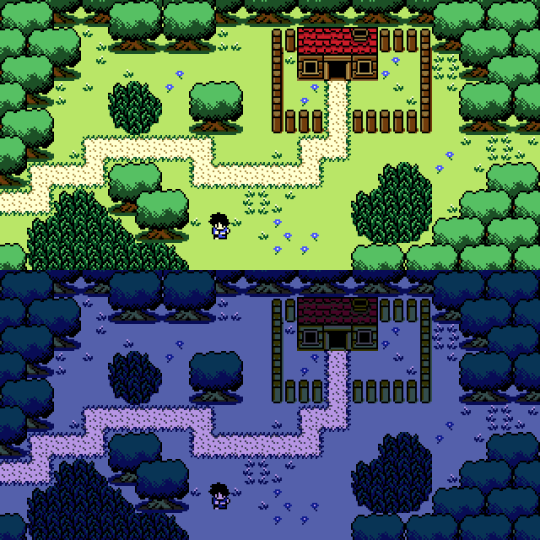
This was…. much better.
After some more tweaks, I had a new palette ready to go. The night palette (the bottom row) only used colors from the day palette (the top row).
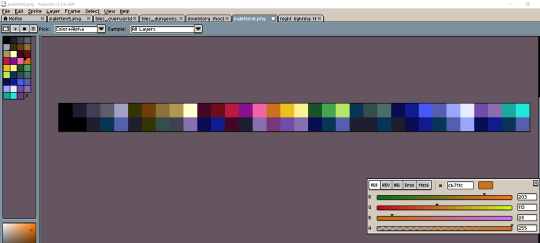
And so I began the process of working with the palette swap shader. It actually went pretty well, though for some reason it wasn’t hitting certain objects, like the player, or jars and other interactable items.
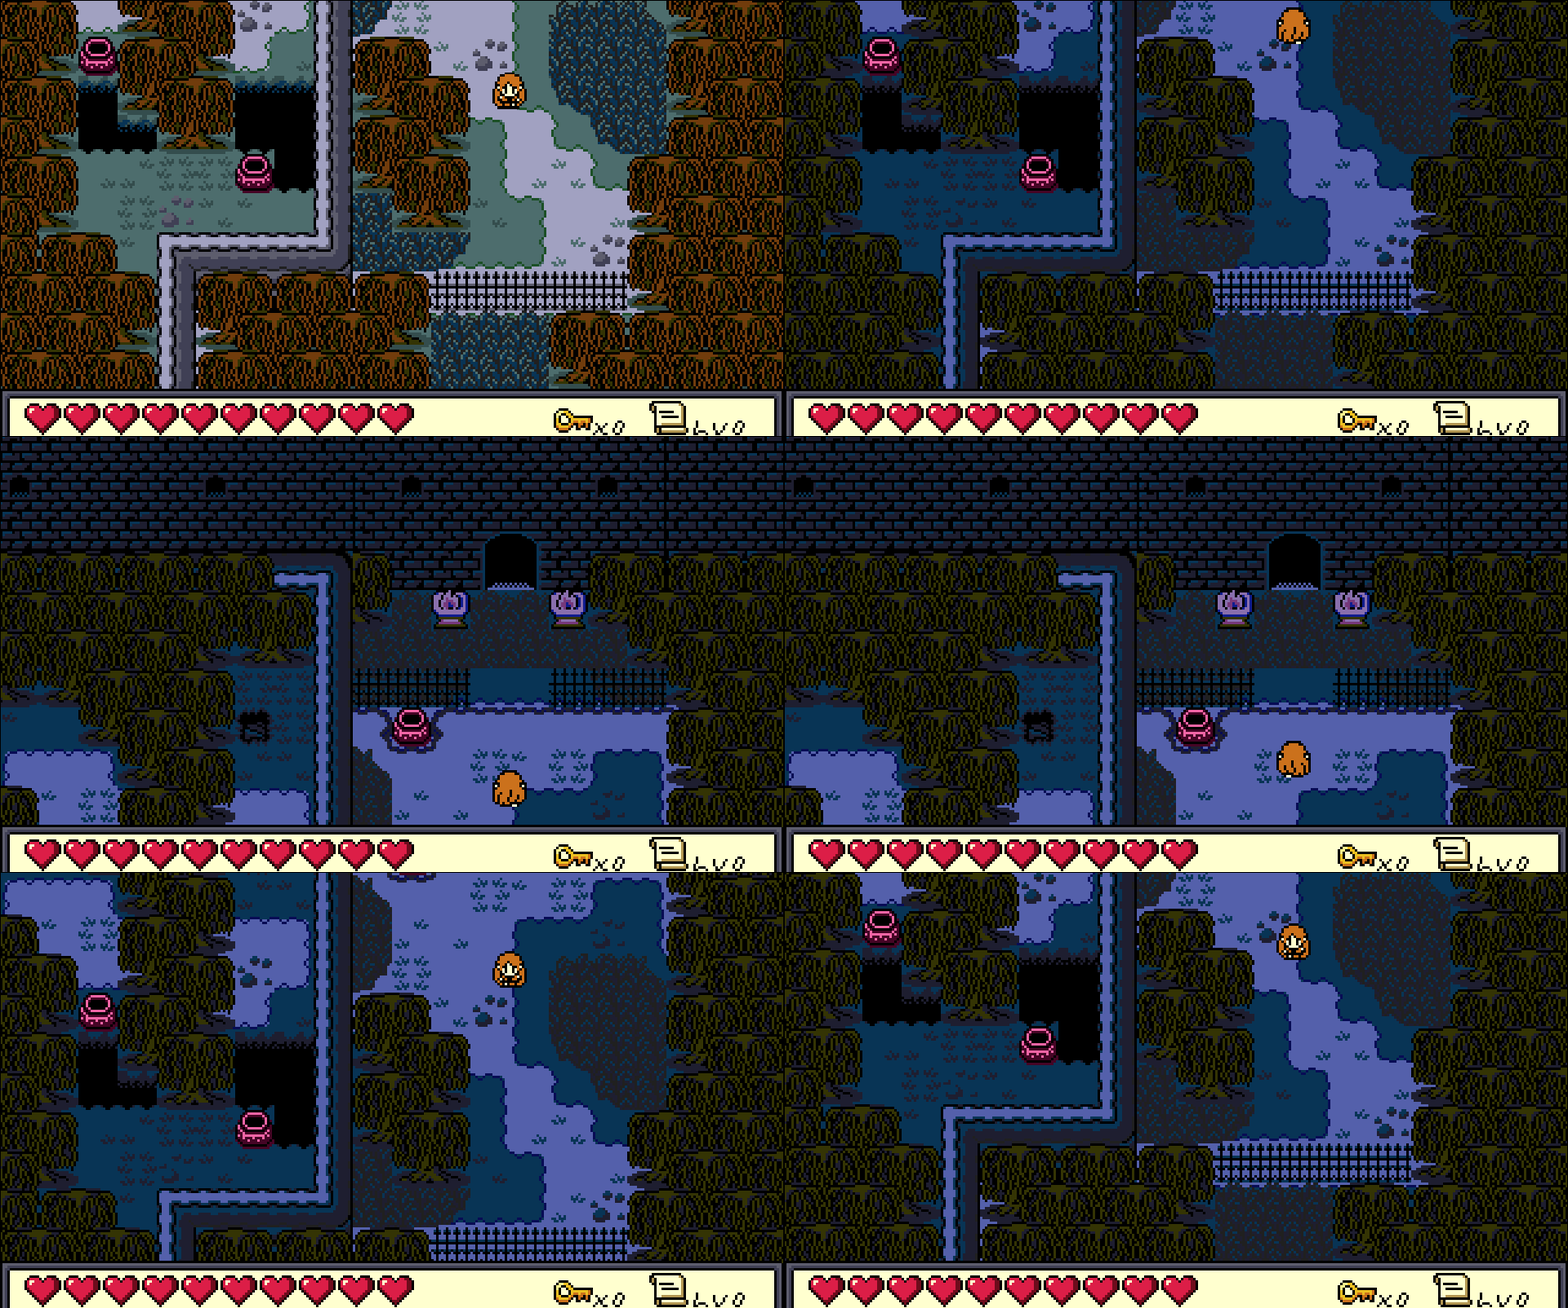
It took quite a bit of digging to figure out what was going on there. Initially I thought the palette swapper was ignoring certain layers (since I was applying the swapper shader to a specific set of layers), but that didn’t hold up. Torches and gates, for example, were also on those layers, and they were palette swapping.
After a lot more digging, it turns out that the shader was missing these objects because I was modifying their depth. In GameMaker, changing the depth means the object gets put in a temporary layer for drawing, and that temp layer is not accessible via code. In other words, the shader would never apply.
I spoke with Pixelated Pope, and there were two methods I could try: 1) apply the shader to a depth range, or 2) apply the shader to the full application surface.
I tried the depth first, and while it worked, it was amazingly, unusably slow. So it was time to try applying the shader to the app surface instead.
The palette swapper has scripts to apply the shader to sprites, layers, depth, and so on, but nothing as far as surfaces. I fumbled around for a bit threw some code together to apply the shader to the app surface, and voila.
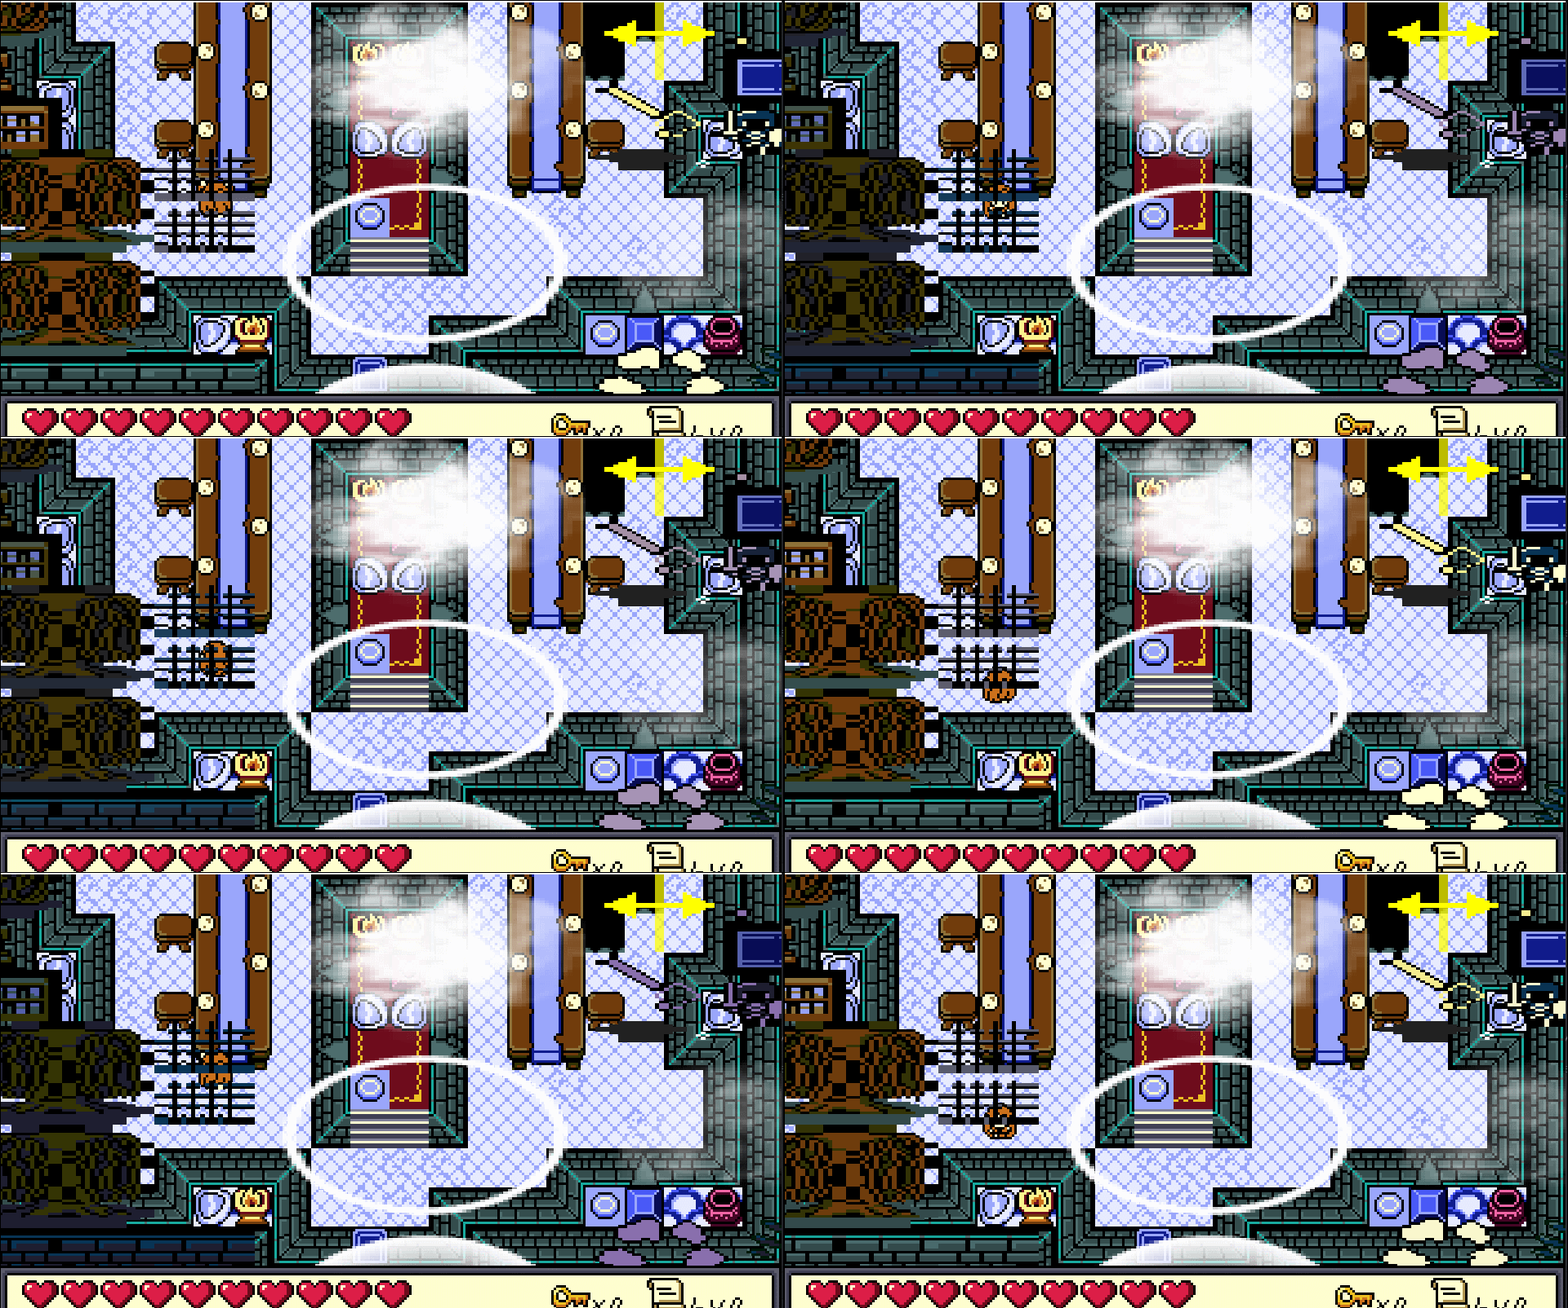
Yeah, so it was pretty apparent I had no idea what I was doing.
After more consultation with Pixelated Pope, it turned out I hadn’t quite been calling the right functions in the right order. With everything moved to the Post Draw event, and automatic app surface drawing disabled, I had it:
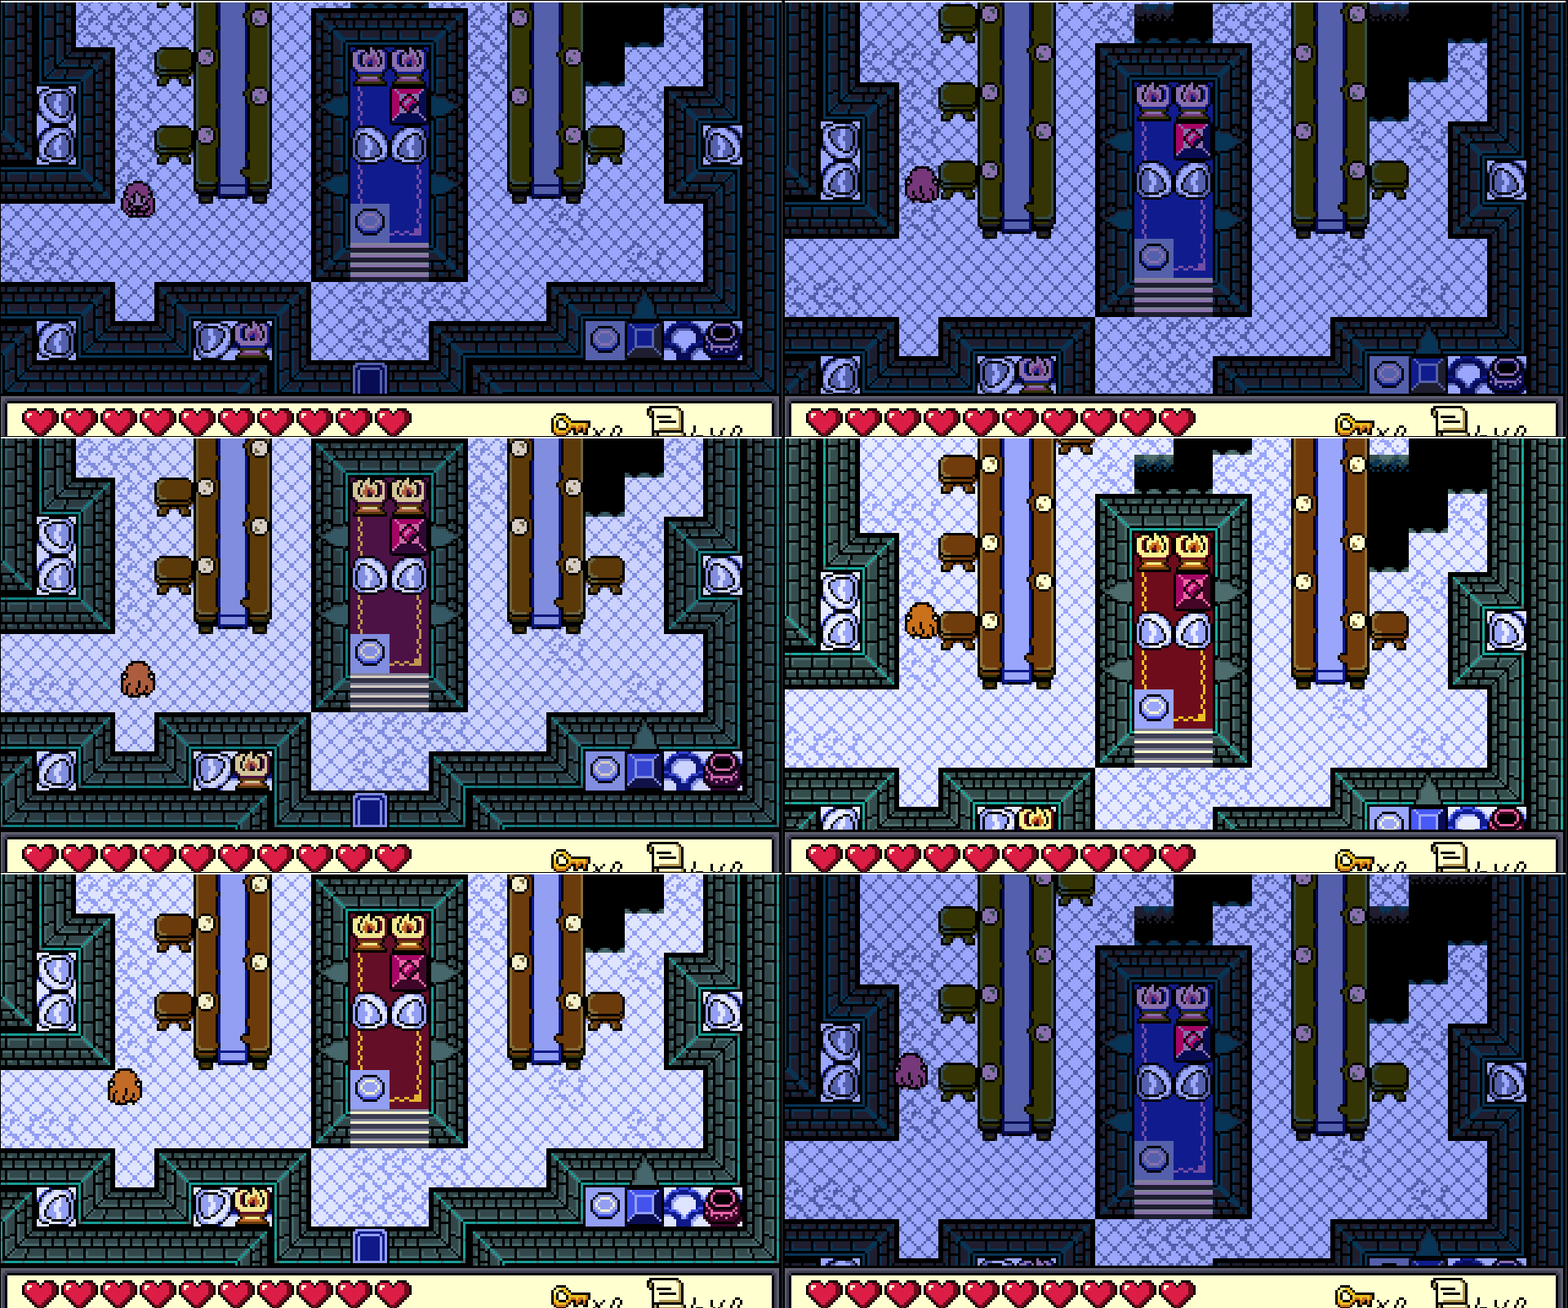
But drawing the app surface manually does mean that I don’t get nice, automatic resizing for all monitor resolutions and aspect ratios. It worked fine on my 16:9, 1920x1080 laptop monitor, but in the past, 4:3 and 16:10 (and so on) have caused the game to stretch or squish badly.
This was the case when I changed my resolution to 1024x768, so I spent more time messing around with the app surface until it was drawing at the right scaled size (with 1:1 pixels to avoid distortion), and centering it. Unfortunately, the GUI layer, which is drawn after the app surface (and after the Post Draw event), did not want to behave.
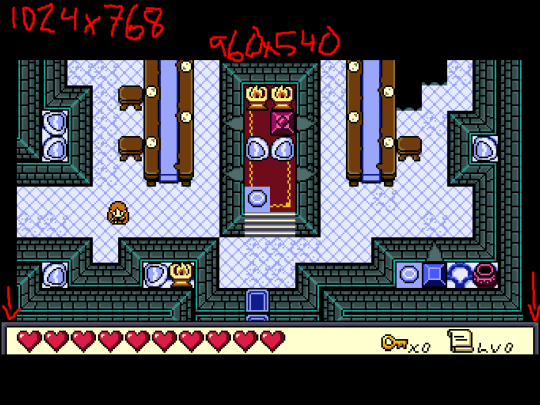
It may not be totally noticeable here, but the GUI was stretching beyond the sides of the game, which not only looked weird, but caused some minor distortion to those sprites.
It took a long time to figure this one out, and it all boiled down to using display_set_gui_maximize(zoomLevel, zoomLevel, offsetX, offsetY) (using the same parameters as I did to fix the app surface drawing/scaling/centering), instead of display_set_gui_size.
Finally, I had to get lights working. Since I didn’t want to make the shader somehow exclude the lights from the palette swap (I would have no idea how), I followed another Pixelated Pope suggestion: the lights now draw an extremely faint, white circle at 0.08 alpha. It’s not noticeable to the human eye, but it IS noticeable to the shader. The shader doesn’t swap the palette of anything touched by that light.
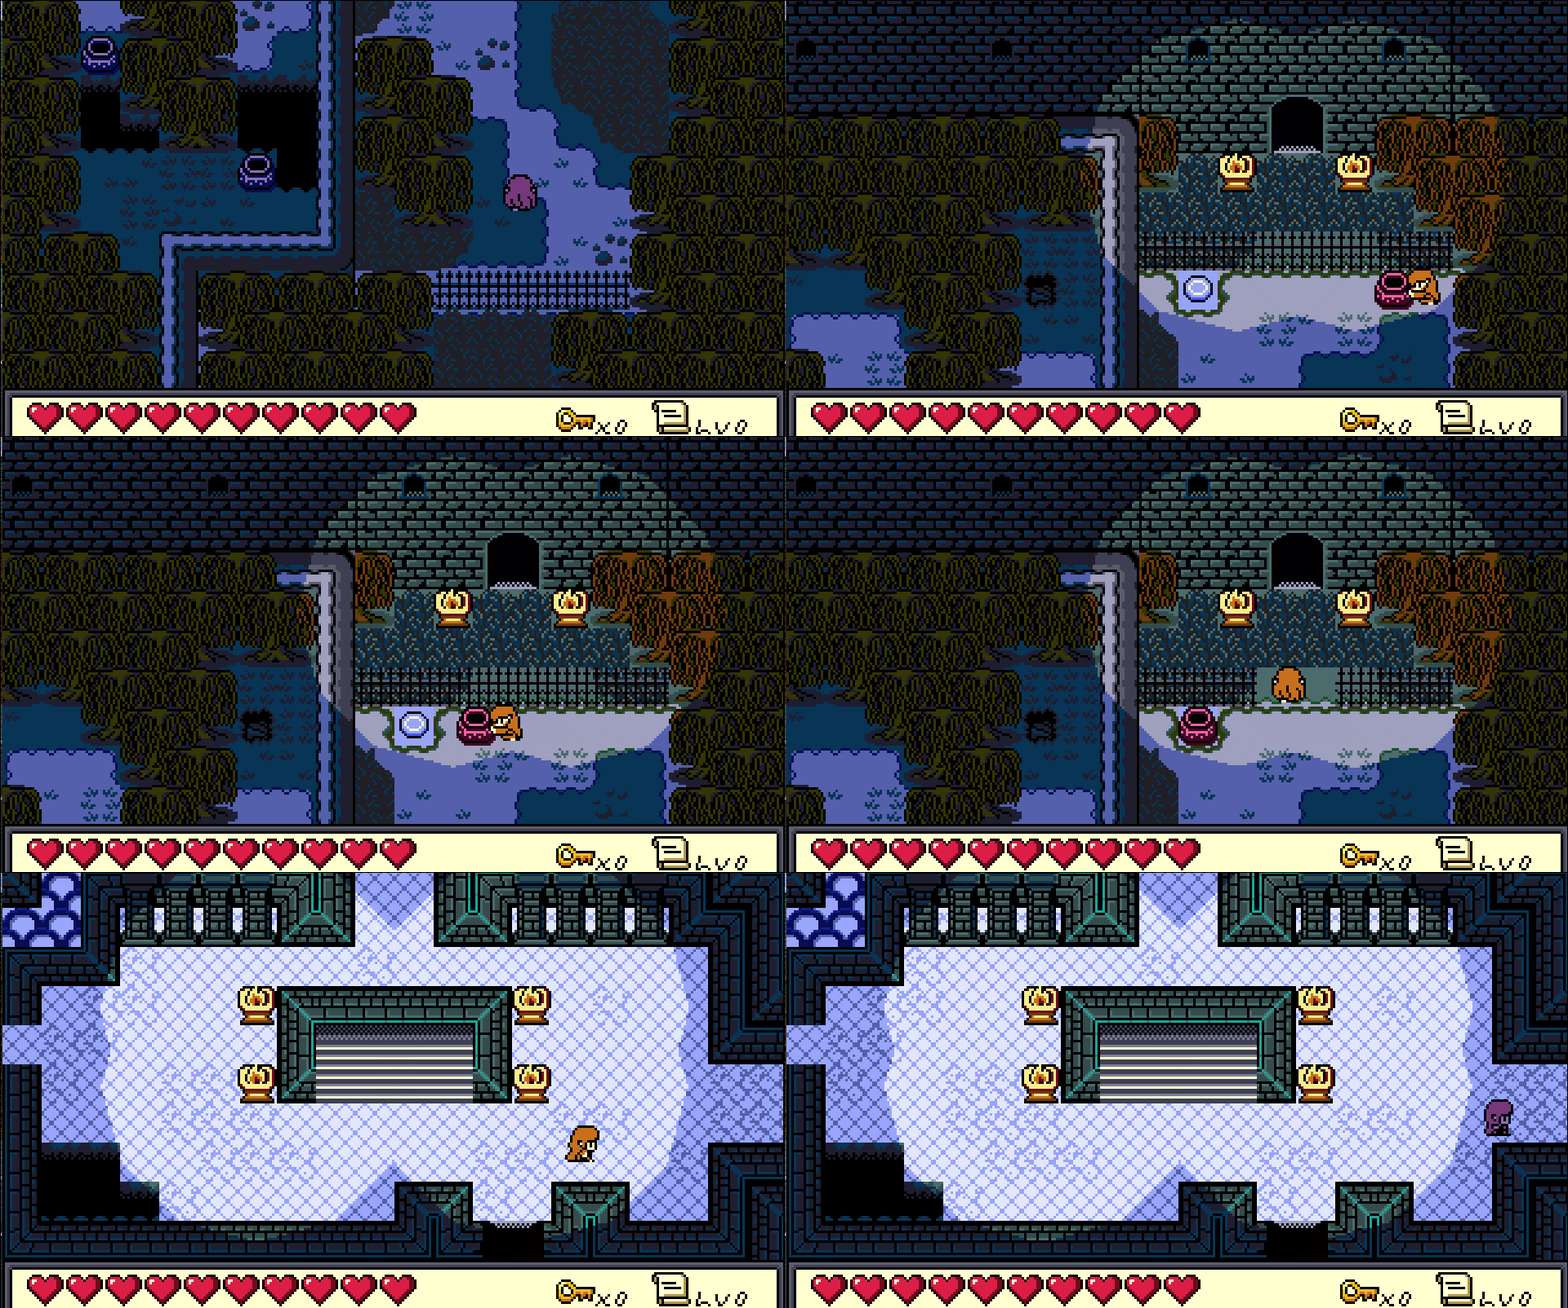
And that’s all!
I hope you enjoyed reading this. Next up, I’m planning on working on true darkness for scary, unlit caves and dungeons. This should be easier, since I’ve already worked with the overlay method–I just need to change it to complete black and tweak it until it looks and plays nicely (famous last words?).
- gamedev
- indiedev
- indiedevhour
- The Waking Cloak
- ProtoDungeon
- devlog
- devblog
- game design
- game development
- retro
- retrogaming
- pixel
- pixel art
- zelda
- games
- music video
Also posted on Tumblr.